Showing posts with label Tutorial. Show all posts

Friday, October 7, 2011

Tutorial: Let's Wing It

Though today's didn't turn out the best that it ever has, winged eyeliner has become one of my newer, more favorite ways to wear my makeup. Though it looks simple, it took me a while to get the hang of, because the shape can be surprisingly difficult to master. I attempted a tutorial for it, in the hopes that maybe the few tips I've learned can help someone else. Enjoy :)


You'll want to start off with some gel or liquid eyeliner (mine is Maybelline Eye Studio Gel Liner in Blackest Black), and a brush to apply the liner; I also suggest a black eyeshadow (not pictured here) and a thin brush to apply that with.


Here's a close up of the brush I used to line my eyes- Mac 210. It's a very small brush that allows for a lot of control. An angled brush would also work well.


To begin, I dipped a brush in some black eyeshadow (Carbon from Mac) using a Loew-Cornell #8 brush (meant for painting, great for makeup, and pretty cheap)...


...In order to sketch myself a basic line that would determine the shape and length of my wing. This is one of the most important steps for me. I make a stright line up from the edge of my lower lashline, like in the next picture. Here I had already put a nude base over my eye (Eden Primer Potion from Urban Decay), and applied mascara to my upper lashes. I do that anyway before applying any of my makeup, but I actually think it makes it easier with winged eyeliner- the lashes are much harder and easier to line over, if that makes sense.


Doing the black line then makes it much simpler to fill in the rest of the liner.


I then just connect the liner to my lashline by going straight down from the top of the black line. Make sure to fill in the gaps well; I've missed the spot right in my outer lashline a few times, and it's frustrating. Mine looks a little bumpy, I guess I was just having an off day? I also go over my eyeliner with the same black
eyeshadow used before. I like to do mine fairly thick, and have the wing extend sort of far, but that's just what I think looks best with my eye shape. Obviously, adjust accordingly with width and length for your personal preference.
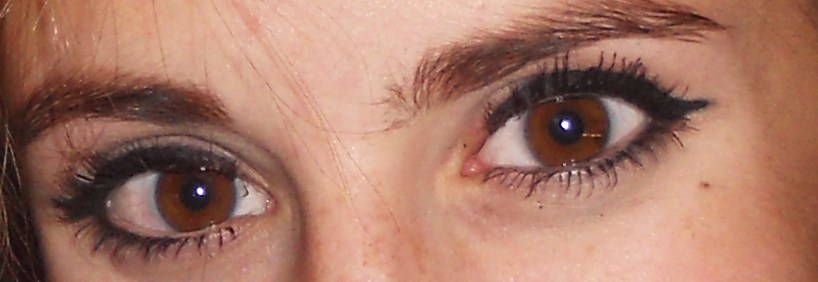

I couldn't get a good picture of my eyes open for the life of me, so I cropped a candid one taken later that night.

This look is easy once you get the hang of it, and quick. It's dramatic without being over the top, and it lasts all day.
Hope everyone is having a great weekend,

Rhiana

Saturday, October 1, 2011

Vintage Flower Nails and My First Half Moon Manicure

I haven't blogged in a really long time. It feels good to do it again, actually. I hope I can fix this bad habit of never updating. I have pictures of two manicures I decided to try in these last few weeks that I wanted to share. First I tried vintage roses with nail brushes. Here's how it turned out!

I used China Glaze For Audrey as the base color and Orly Two Hour Lunch, Essie Lady Like, and OPI Don't Mess With OPI for the roses, and Seche Vite as my topcoat. I would have taken pictures for a tutorial but forgot. I really loved it! Definitely one I will do again.

Next is my first attempt at a half moon manicure and a tutorial to go with it. To start, clean and prep nails as usual, and apply a protective base coat and two coats of a base color. This is the color that will show through in the end. My base coat is from Nail Magic and my base color is Essie Lady Like.


You want to let your base color dry completely before moving onto the next step. This is very important! I gave mine an hour just to be safe. You will need these reinforcement stickers for the next step.


Cut the stickers in half so they lay on the nails better. Place a sticker at the base of each nail. The most important part here is that you keep the amount of nail covered by the sticker consistent. You want each half moon at the base of the nail to be the same size. Press down the edges really well.


Take a darker polish and paint over the stickers, covering the part of the nail that is showing. I used Essie Power Clutch. Let the second color dry completely, then pull the stickers off slowly and gently, pulling away from the base of the nail.


Apply a topcoat and you are finished!


I actually really loved the way this turned out. But it is not something I will do often because of the amount of time it takes. This simple looking manicure took me an hour and a half, and it ended up chipping two days later. It is unique and really pretty but a lot of work so I will probably not be doing it very much.

That is all for now. Hope everyone is having a great weekend.

Naomi

On a side note, I just ordered a Konad nail art kit with five or six plates and I cannot wait to get it! :) I'll post about it soon!

Tuesday, July 12, 2011

Tutorial: Water Marble Nails

I have been wanting to try new things on my nails and have kinda been stuck. I came across this awesome technique a few months ago but never tried it until a few days ago and now I cant get enough of it! Its really neat. I did it for three of my sisters and three friends and on myself :). So I'm doing my first tutorial on it :).

You start out by taping off your nails. This part can take a lot of time depending on how you tape your nails but I think its kinda worth it cuz it keeps your hands clean. Then paint your nails with one coat of a white polish. I use China Glaze White on White.

Get a small cup (I used a plastic one but any small glass or plastic cup works. Try not to use one any bigger than this.) and fill it with room temperature water. Pick you colors and decide what order you want them to go in. For this look I used OPI No Spain No Gain, China Glaze White on White, and Nicole by OPI Razzle Dazzler. Picking colors is definitely my favorite part :). Then add one drop of a color to the water, then another color on top of that, then another and so on until you have created a sort of bulls eye. You can use as many colors as you want to do this.

Then use a toothpick to create your design. I used the toothpick to pull the edges to the middle to make a flower. This part can be frustrating. If you mess up, blow on the water a little bit to dry the polish quickly and use a cotton swab to wipe it out of the water. You do not need to change the water each time you make a new bulls eye.

When you finish creating your design, dip your finger into the water. I suggest doing two fingers at a time and thumb by itself. It helps save time and nail polish and it still turns out really nice. Once you dip your fingers, leave them in the water until you can take a cotton swab and wipe the excess polish out of the water. Then gently take your nails out of the water, pull off the tape, clean up the edges of your nails with a cotton swab and some nail polish remover, and apply a top coat. And you end up with really beautiful unique nails. :)

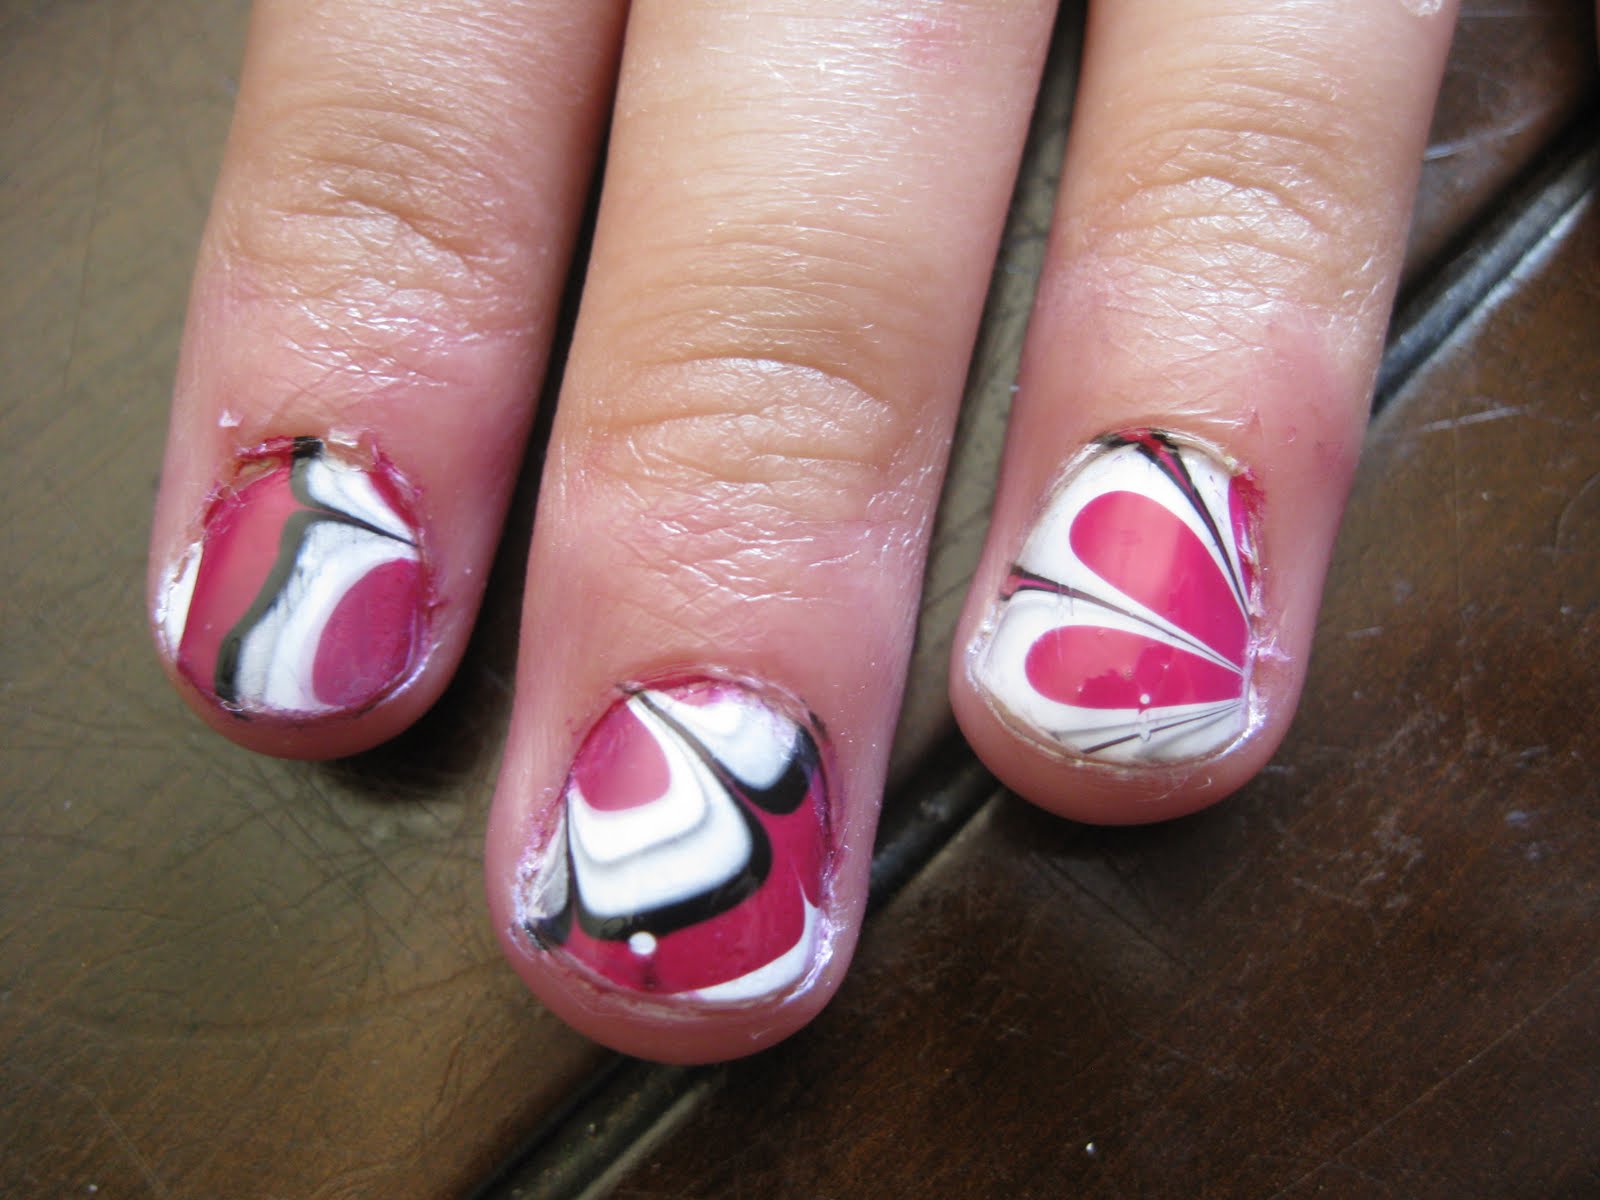
They turn out so gorgeous. Here are a few others I've done...

Zoya Yummy, Nicole by OPI Razzle Dazzler, and China Glaze White on White.

Essie French Affair, Orly Ancient Jade, Nicole by OPI Razzle Dazzler, and OPI No Spain No Gain.

Sinful Colors Timbleberry, Sally Hansen Sun Kissed, and China Glaze White on White.


Zoya Caitlin, China Glaze White on White, and Nicole by OPI Razzle Dazzler.

China Glaze For Audrey, China Glaze Secret Peri-wink-el, and Zoya Dove.

And these are mine :). Sinful Colors Timbleberry and China Glaze For Audrey.

Loving this look! Give it a try. Have a good week everyone! :)

Naomi